Introduction
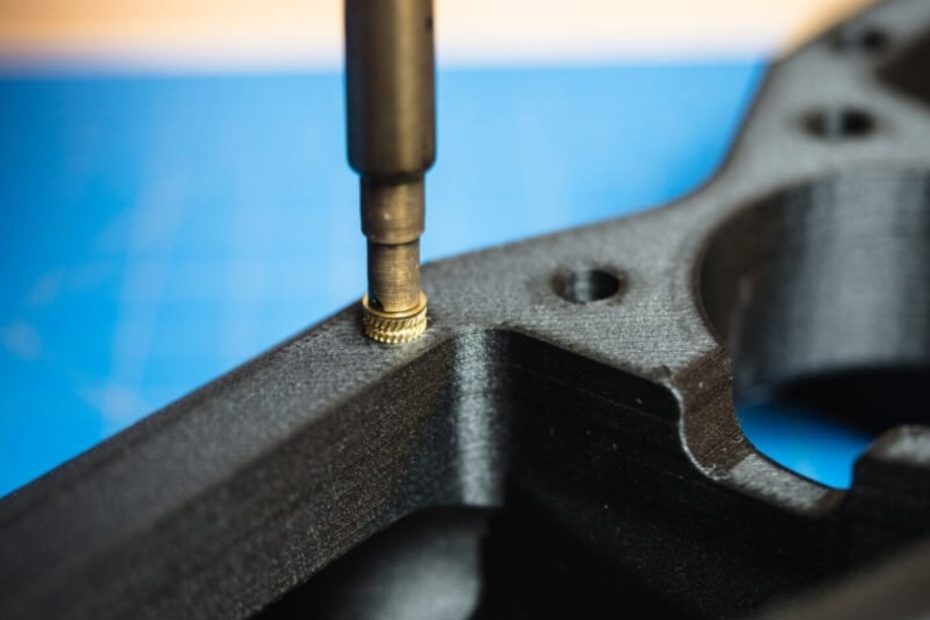
Heat set inserts are becoming more and more common in the 3D printing community and with good reason. This article will give you a good introduction to a variety of topics concerning the emerging technique. We will address what they are and why they are so useful, what you need to execute an insertion, how to design your CAD for inserts and tools to make instillation easier.
What is a Heat Set Insert?
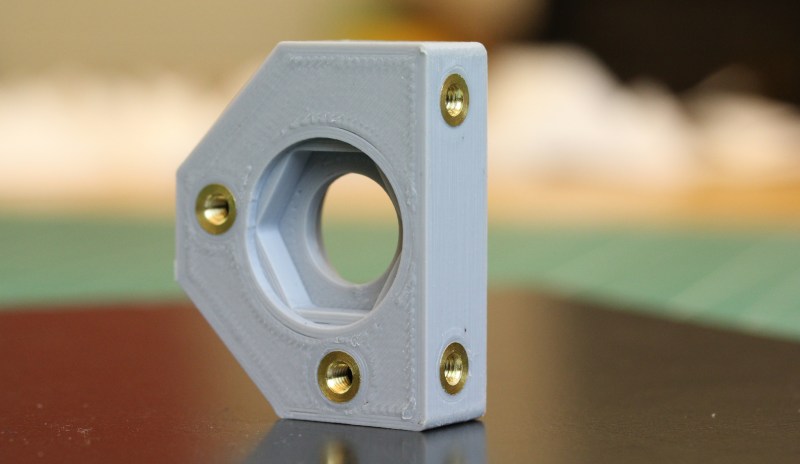
Heat set inserts are metal parts (often brass) that containing threading for screws and bolts. They are used because if you want to make a 3D print that involves screws, if you only use plastic the threading will often only work for one or two fastenings before the plastic threads are damaged. The heat set inserts offer a reuse-able option that not works great, but adds a professional finish to your 3D prints.

What materials will you need?
To insert the metal features, what you will need is a heat source (usually a soldering iron), eye protection, the inserts themselves and the 3D print you are inserting them into. I would also advice some form of mat to protect your work surface from heat exposure.
How to Design for Heat Set inserts
When designing for heat set inserts it is important to think of both the diameter and the depth of the hole you make. For the diameter you’d much rather go to small than too big, as you can always melt away excess material, but if it is too big for the teeth to grab onto you’ll need to reprint the while part. I usually go about .02in wider in diameter than the bottom of the inserts (not the diameter of the teeth). When it comes to depth you want to go at least 1.5 times the depth of the insert itself. As your are melting it into place, you have to remember that you’ll me pushing molten plastic below the inserts, so its essential to leave a good amount of extra space.
I would also recommend adding a chamfer to the top edge, this will help in two ways. First it make it easier to guide the heat set into place, which you shouldn’t underestimate when dealing with an extremely hot metal piece. The other is that is helps prevent a bulge that will stick out above the flat surface you re inserting into. As the plastic melts it will expand out, and will often create a round bump above the insert. But if you leave the extra space of the chamfer, you are less likely to experience this.
The last design element to consider is actually an element you would alter in your slicer. I like to add additional wall layer in your print, it just helps provide more material for the teeth to melt into and secure themselves. You’d much rather have the extra material to melt from the prints walls, rather than the empty space of infill.
Inserting the Heat Sets
Tools to make it easier
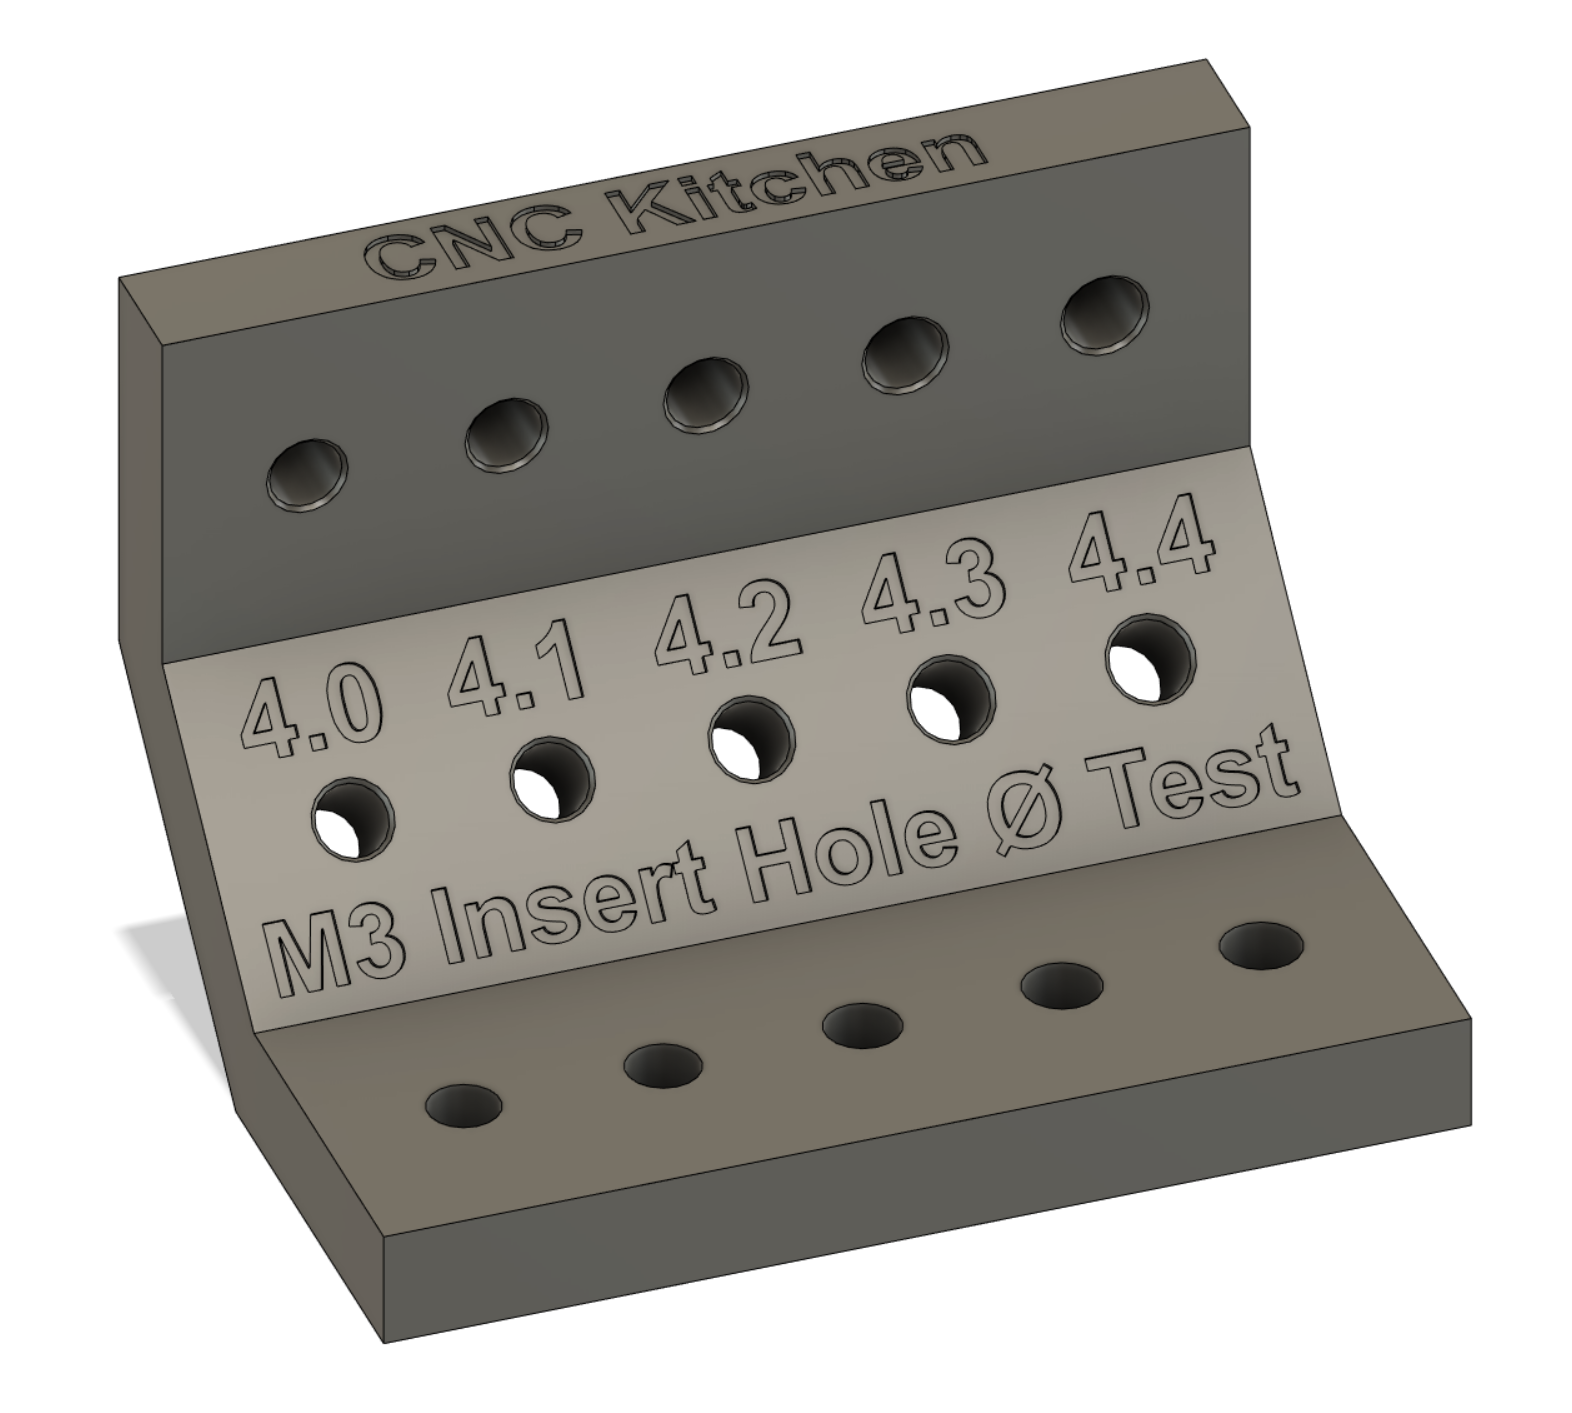
When first getting into heat set inserts, it will be tough to tell what size to model your holes for because you won’t know how it will react when inserted. The people over at CNC Kitchen have created a set of 3D prints to experiment with to find the best diameter fit. And the best part is, once you insert them, you can salvage the inserts if you would like to cut them out. You can find the parts here.
Another aspect some people struggle with is inserting the heat sets straight, accidentally moving their wrist a little too far left of right and now your screws go in askew of 90°. A way to remedy this is using a tool such as the one below: a press that ensures a nice straight insert. There are many models you can find online to 3D print yourself, I will link some here, here and here.

Conclusion
We hope you’ve found this article helpful in expanding your knowledge on what heat set inserts are and how to use them. There are many more ways to modify your 3D prints to add a measure of quality and professionalism, but this is the one we at SHAP3D thought would serve as the best introduction. Keep an eye out for more posts to come by subscribing to our blog.