Identifying your problem
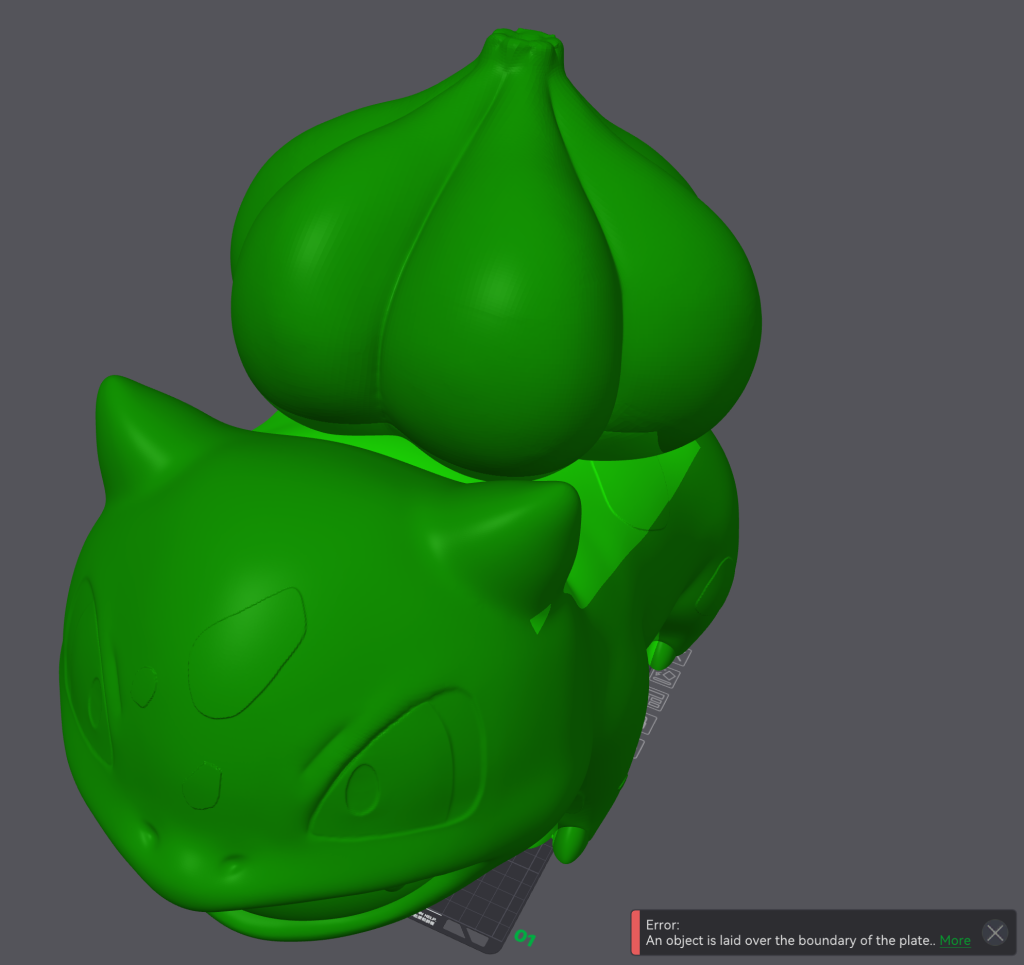
So you’ve found or designed a model you are excited to print. You load it into your slicer only to realize the design is too big to fit on your build plate. There are plenty of options of how to circumvent the issue, but I would recommend making sure you have an actual problem before you proceed. There is a chance that your item was imported in using the wrong dimensions. For example, if the item is designed to be 100 millimeters wide, but an error occurs while importing it, that could explain why your object is now 100 inches wide. If thats not your situation, please proceed to see some solutions to the problem (increasing in difficulty as the article goes on).
Resizing
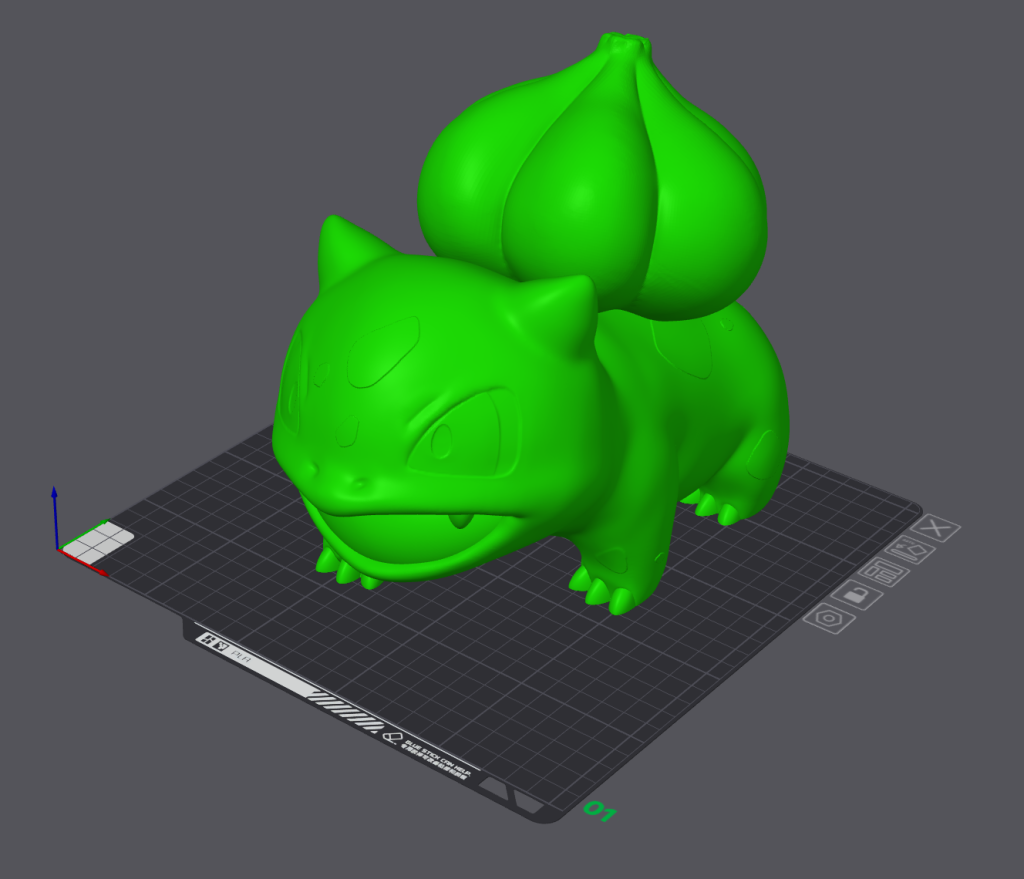
If you are not working under the restrictions of specific dimensions the easiest solution you can find is resizing our object to fit into your build space. As you can see in the image above, the design was too large and output an error message, so I used the scale feature in the Bambu Lab Slicer to make it fit. Its good practice to leave the dimension percentages fixed to one another, so that when you change the x dimension, the y and z dimensions change at the same fraction.
Rotating to fit
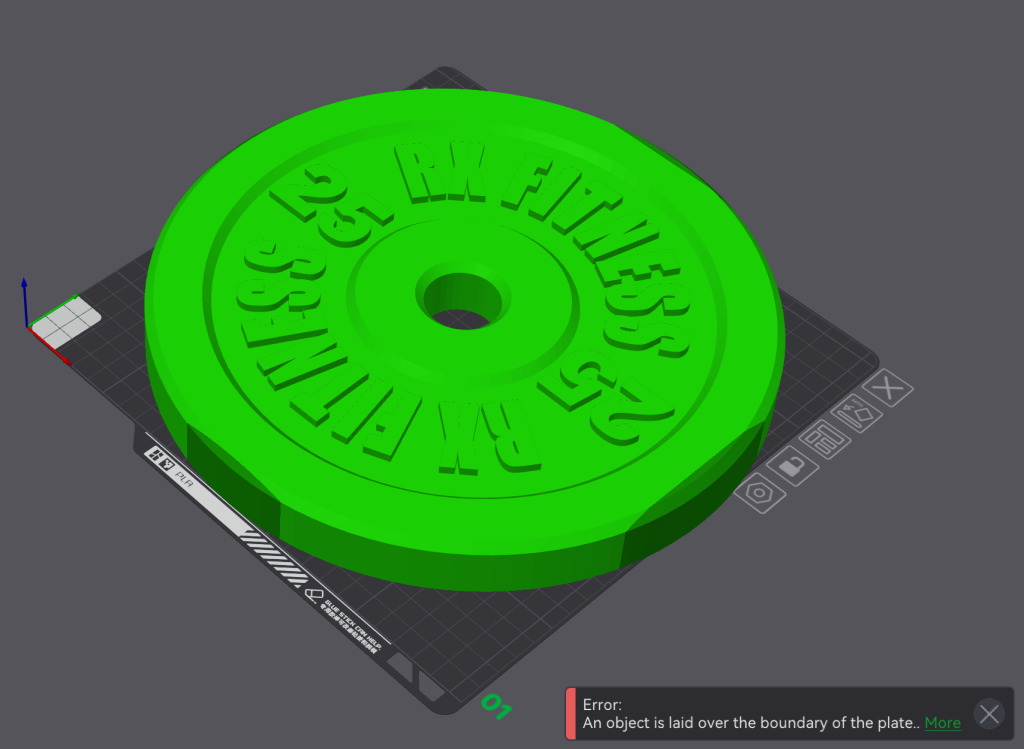
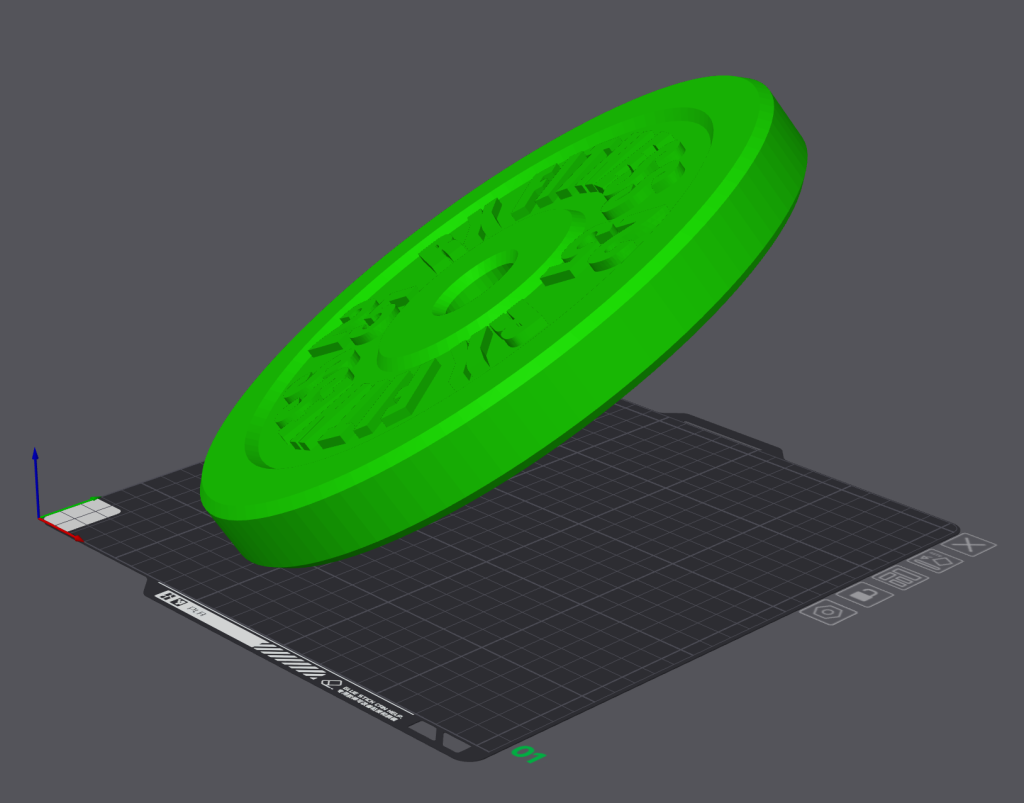
Some times getting your project to fit is just a matter of orientation. As you can see in the image above, if this barbell weight is flat it will not fit the print space, but by angling it as bit you can get it to fit. This does mean you’ll probably need to use significant amount of support material however, so this is really best served when you need to keep the dimensions untouched but would like it to all fit in one go.
PRinting Multiple pieces
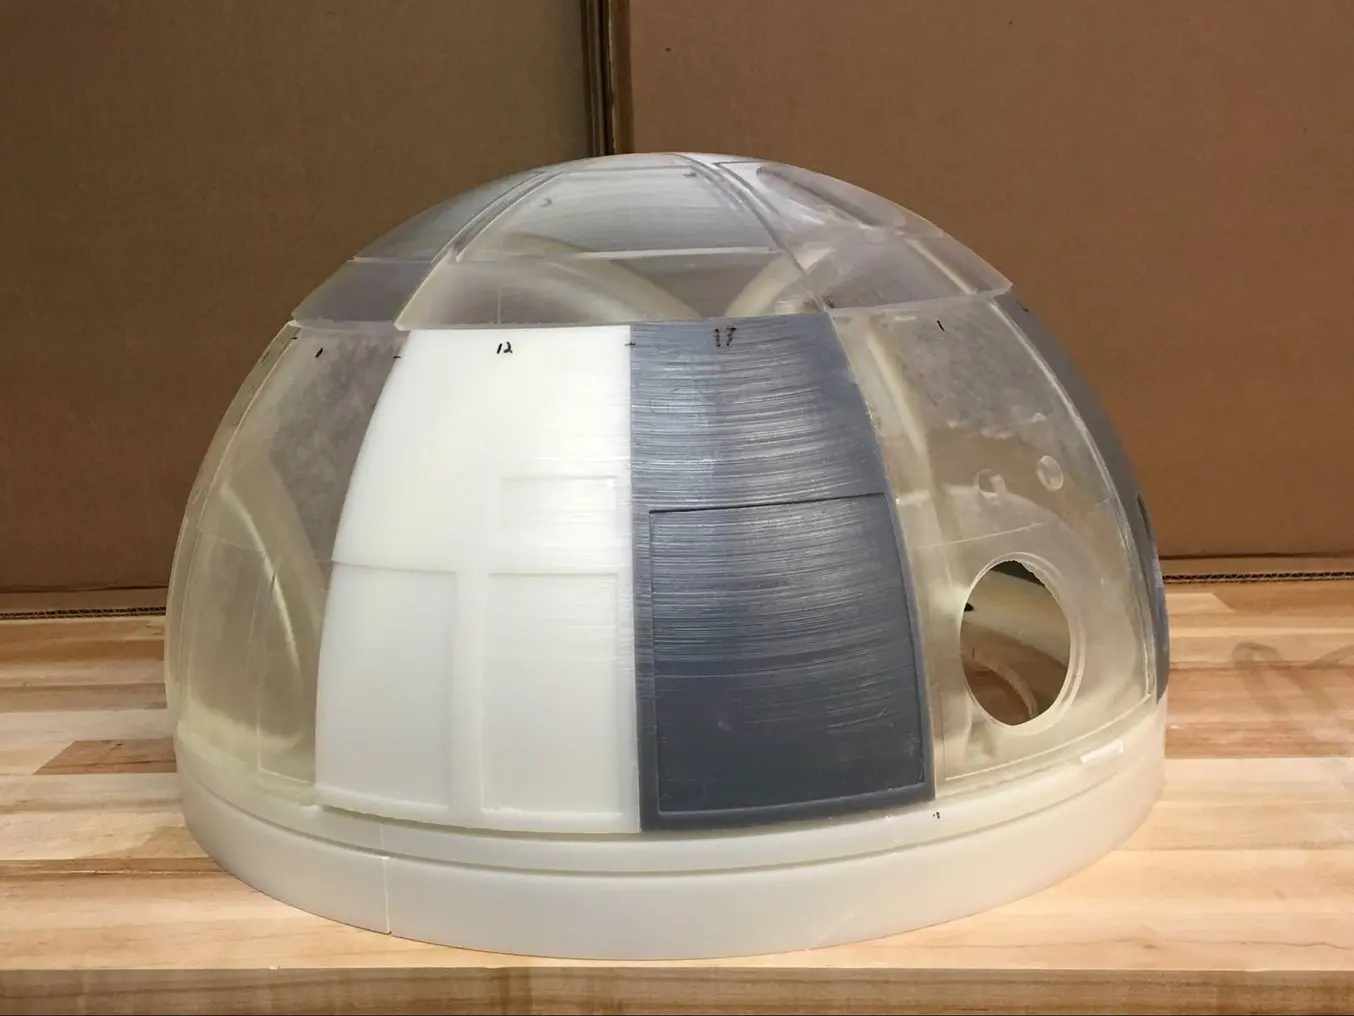
If none of the previous solutions work for you, the next step would be to print in multiple pieces. This is less then ideal, but if you want a very large print it is your only possible solution. Now there are a few ways you can approach this, and it will really depend on how strong you need this part to be. This is a technique that has become very common in the cosplay and figure communities because it gives you the ability to make life sized prints. Below we will discuss some of the ways to go about this and how to produce the best finished product.
Straight Slice
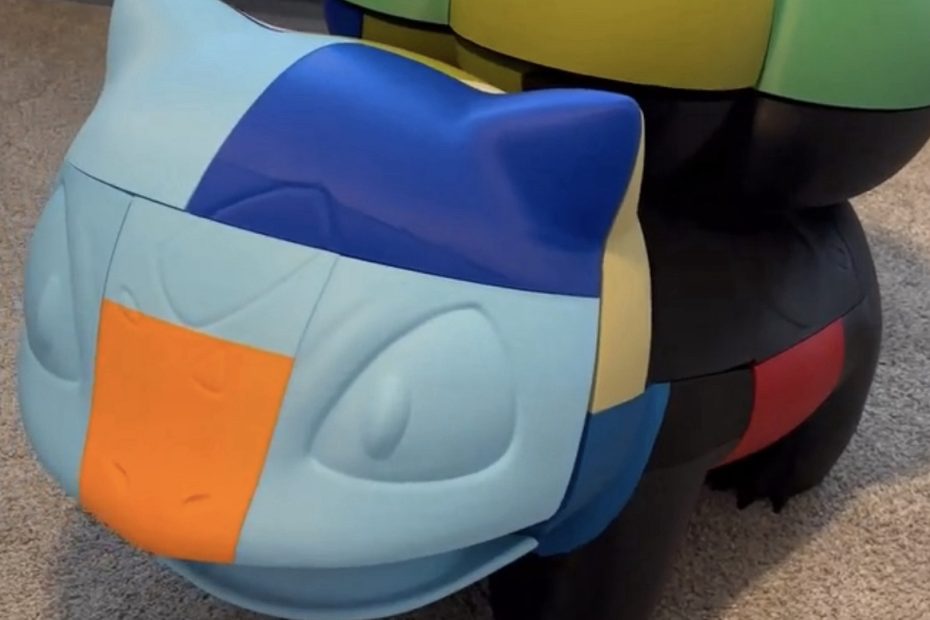
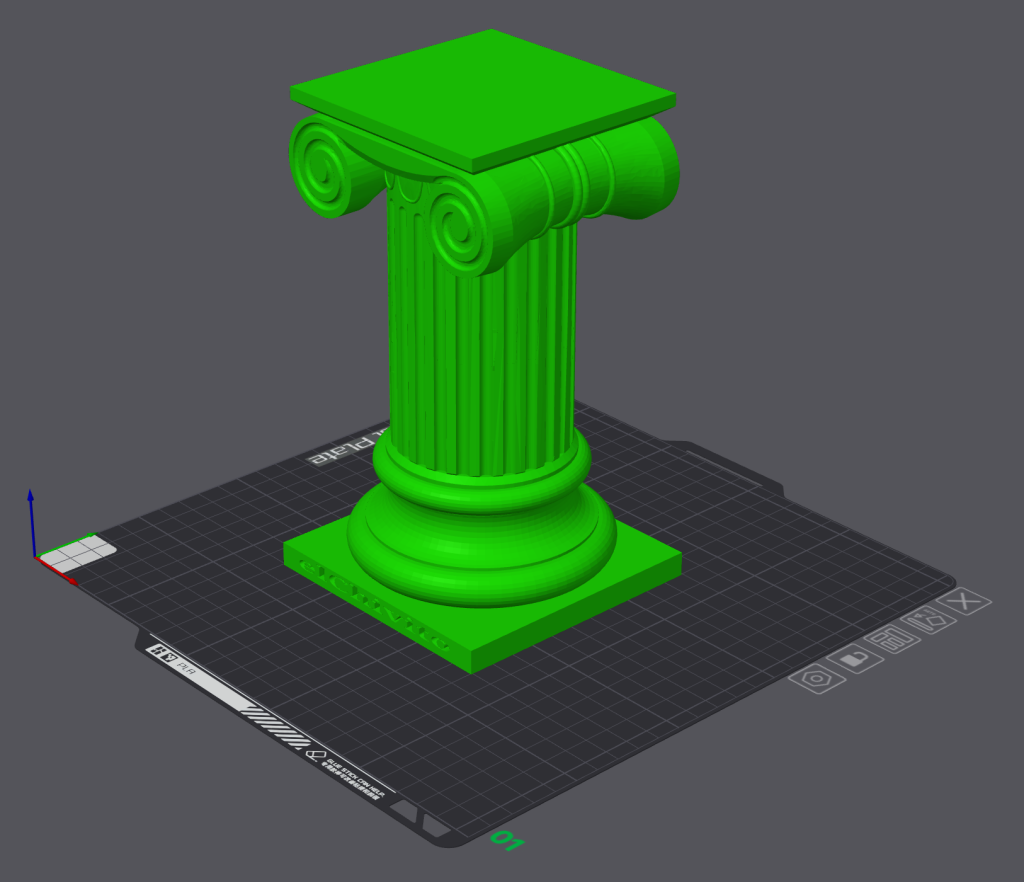
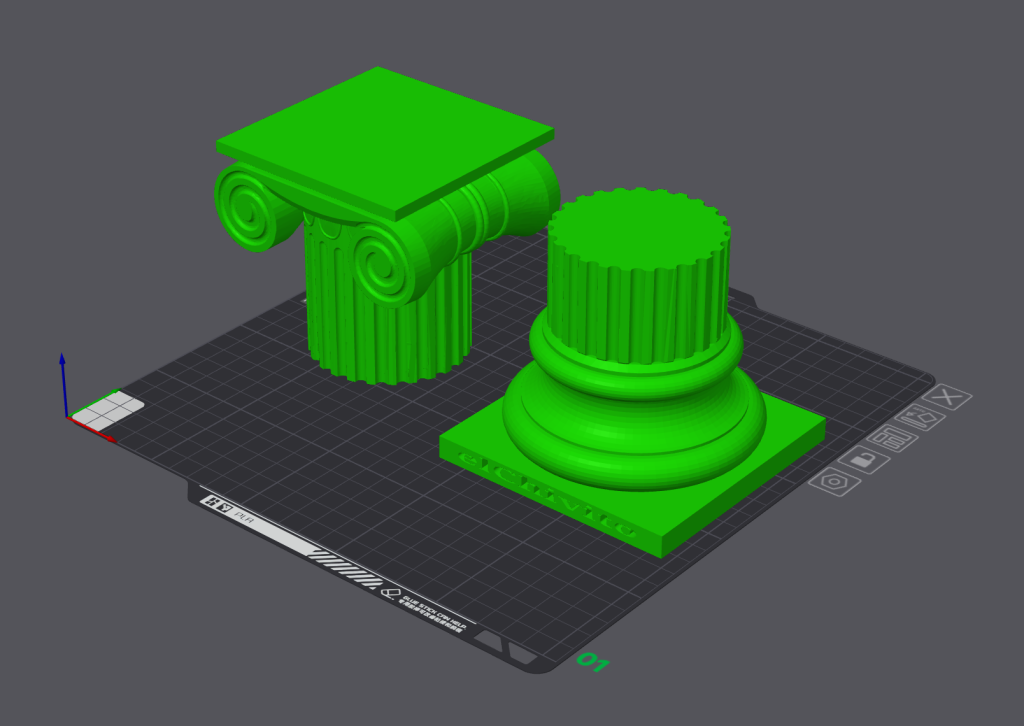
In the images above you can see the cutting technique that most slicers have. This allows you to cut an item that may be too large into smaller sections to print (even if that means printing on multiple plates). Once printed, you can use an adhesive to attach the two parts into one. Depending on the location of the cut you may even be able to hide the seems. If your part is bigger and requires more cuts, I would recommend doing it in some sort of CAD software. You may need to do your own calculations to make sure everything lines up, however it is worth it when you are cutting into double digit parts (see the figurine at the very start of this article as an example).
Slots for dowels
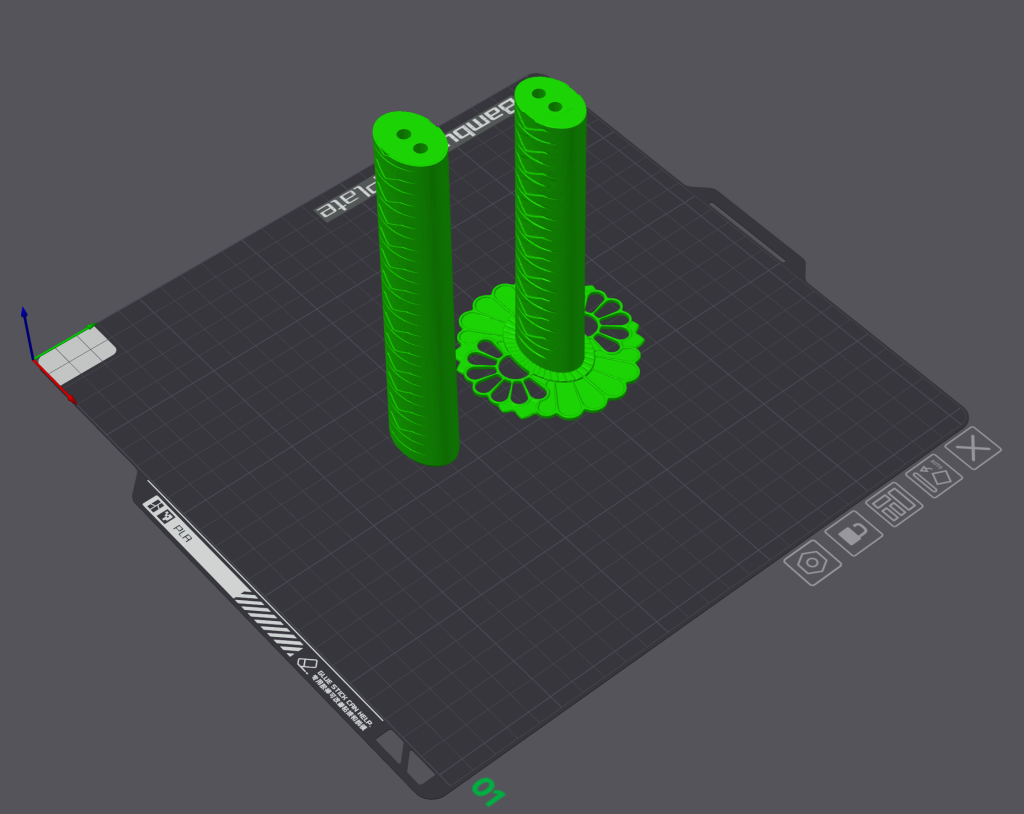
Another way to give your multi piece print more strength and ensure alignment would be to insert dowel slots into your model before you print. As you can see in the image above, leaving two slots for wooden dowels will allow the easy assembly of the sword handle. I would recommend using an adhesive on both the dowels and the flat parts of the handle that will sit flush against one another. Some people have begun using their printer filament as a type of dowel as well, since it can be so difficult for printers to finely print at that small of a diameter. One final bit of advise would be to use one long dowel when designing a big piece, almost like a piece of rebar. For a sword, for example, I would use one piece that runs the full length of the sword for added strength throughout.
Adhesive Approach
There are plenty of types of adhesive you can used to combine parts. The main thing to consider when making your choice is the strength to ease of use ratio. For example a hot glue gun may be easy to use (if not a bit messy) but it does not exactly leave the strongest hold. Super glue works better, but can still break at times. For a strong adhesive I would recommend a quick mix epoxy, but be warned you will not have a lot of time to work with this.
3D printing Pen
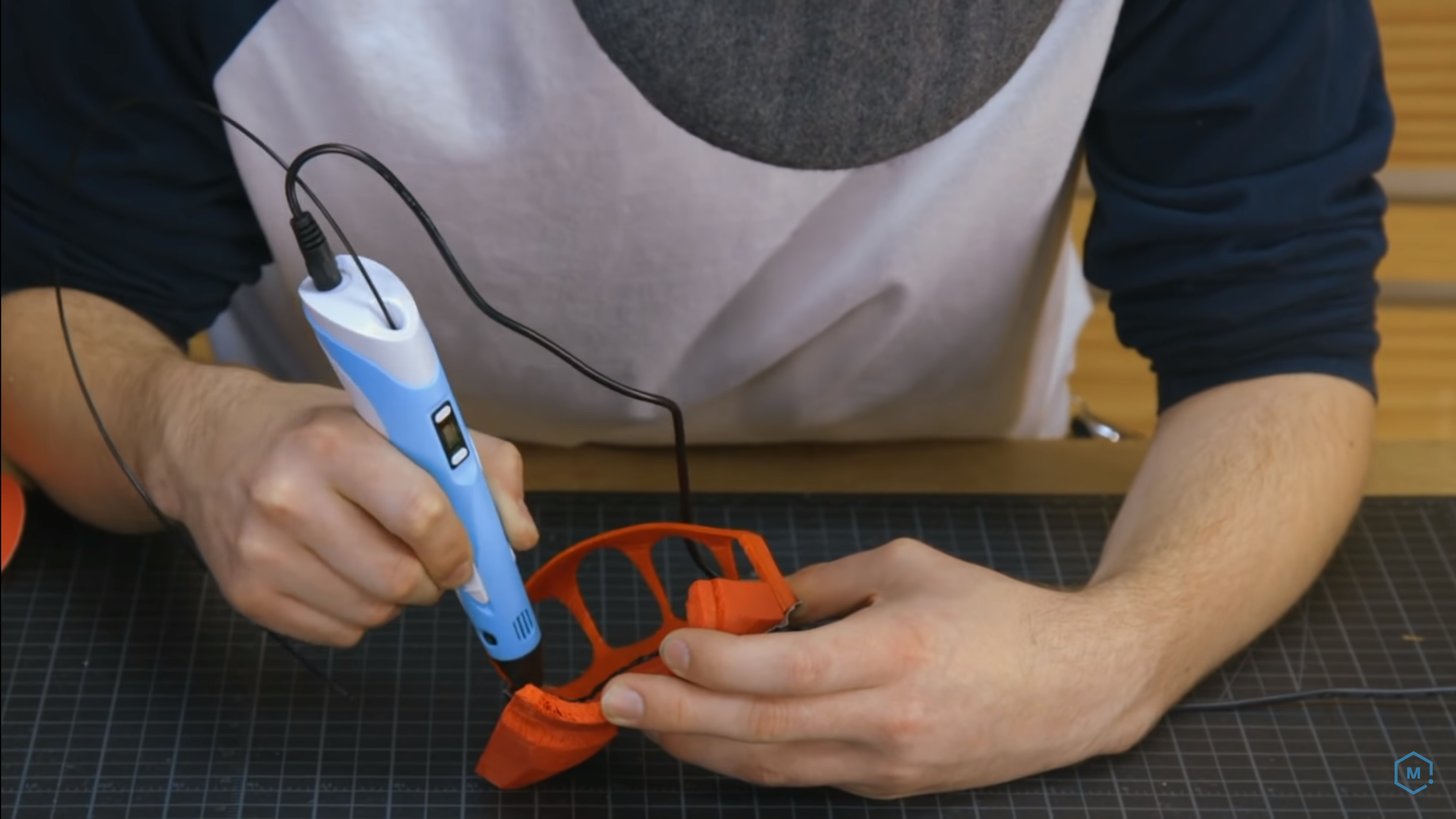
A great way to combine two pieces with a very strong bond is through the use of a 3D printing pen. It uses the same heated nozzle a 3D printer has, but in a tool closer to that of a glue gun. It allows you to control the output and location of material to better apply it to the needed areas. These can use the same material as your 3D printer, so you can even match the color of the pieces that need to be combined.
Cleaning Up seams
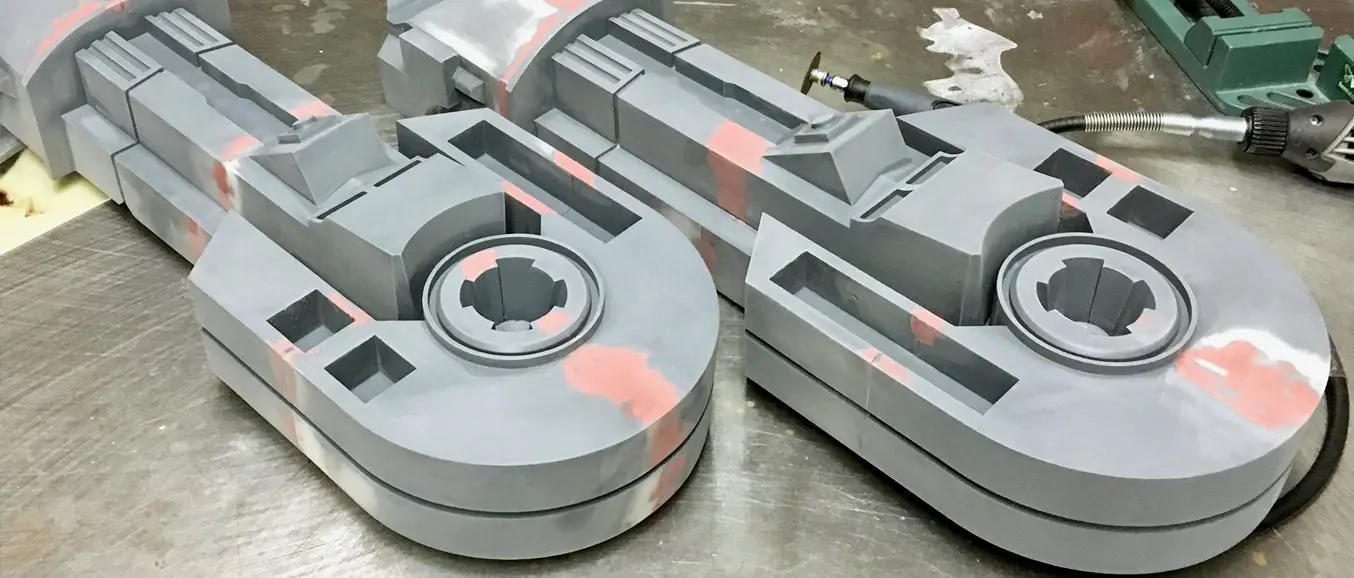
The biggest problem with printing in multiple parts is that you are left with unsightly seams. To resolve is the best solution is to use some kind of crack filler, some primer and some sand paper. I would recommend the use of Bondo for your crack filler. It drys quickly and sands easily, but I would provide the caveat that less is more in this case. Then a primer and some more sanding and you will have a clean finish.